I’m publishing the first Test Your Skills Sampler post right after this one, but first I wanted to cover a few things about fabric preparation, pressing, and squaring your fabric.
Washing
Elizabeth’s question in the last post brought up the eternal quilting question: To wash, or not to wash?
As Jeanne discussed in her Skill Builder post, the answer is simple: It depends. Please check out her post for much more information about prewashing (for stash or for projects), as well as pressing and grain lines vs. bias.
I’m going to weigh in a bit here as well. (Ooh, “weigh in” – what an awful phrase… but I digress.) There are three reasons to prewash:
- colorfastness
- shrinkage
- chemicals
Colorfastness
I do not pre-wash my fabric. There have been a few exceptions (when working with flannel, batiks or hand dyed fabrics), but so far I’ve had no problem working with unwashed quilting fabric. I’ve been very cavalier about it – I don’t even test the fabrics! However, if you’re working with darker colors mixed with white or very light colors, you might want to test the darker fabrics for colorfastness. There are a few ways to do this.
- Soak a piece of white fabric in hot water with a little detergent in it. Remove the fabric and squeeze out most of the water. Rub the white fabric on the questionable fabric. If the white fabric picks up any color, you should pre-wash.
- Get a piece of white cotton fabric wet then place it on a piece of your questionable fabric and press with a hot iron until the fabric is dry. If the white fabric picks up any color, you should pre-wash.
- Cut a small piece of the questionable fabric, maybe 2″ square, and place it in a clear or white dish with hot water and a touch of detergent. Swish it around, then let it soak for a few minutes. Remove the fabric – if the water is colored, you should pre-wash.
- Follow the steps in #3, but after soaking, remove the fabric and blot it with a piece of white fabric or paper towel. If the white fabric shows any color, you should pre-wash.
If you decide to pre-wash because of colorfastness issues, you may decide to treat the fabric when you wash it. I mentioned Synthrapol and Retayne in the last post. They have two very different functions, so be sure to use the correct product at the correct time. Many quilt shops are carrying these products (JoAnn’s has it online, and possibly in stores), but you can also order them online.
Retayne should be used when you pre-wash fabric. It is a fixative that keep the dye in the fabric. Retayne does NOT work in front loading washers, so you would have to hand wash your fabrics if you use it. It doesn’t work on every kind of dye, so you should test your fabric again after using it. You should NOT wash a completed quilt with Retayne!
Synthrapol keeps any loose dye in the water from attaching to the fabric. You can use it when pre-washing, especially if you have a multicolor print fabric. You can also wash a completed quilt with Synthrapol to keep the loose dye from migrating to light colored fabric.
There are other products you can use when washing the finished quilt. Shout Color Catchers are disposable sheets (similar to fabric softener sheets) that soak up the loose dye in the water and prevent it from migrating to other fabrics. Some people use several sheets in the first washing; we use a couple of color catchers the first few washes (we even include them with instructions when we give a quilt as a gift). They are commonly available in stores in the US, and right now you can receive a free sample from the website. Carbona Dye Grabber is a similar product, but can be used up to 30 times before it loses effectiveness. It looks like a small terrycloth wash cloth.
Shrinkage
Some fabrics shrink more than others. The better the fabric quality, the less it will shrink. Very cheap quality fabric not only shrinks more, but may shrink inconsistently (top/bottom vs. left/right). This is one of the reasons I’m picky about the quality of fabric I use. If you work with flannel, you should always pre-wash because it shrinks considerably more than regular quilting cotton. If you mix fabric types, again, pre-wash everything so your finished quilt will not turn into a misshapen mess.
You might have heard that not pre-washing your fabric gives you an old-fashioned puckery look when you wash your quilt. That’s not entirely true. The puckery look comes from the batting shrinking. If you use batting made from polyester (or batting made from recycled plastic bottles), the quilt stays very flat and smooth because the batting doesn’t shrink much – less than 1%. Cotton and wool (and other natural fibers) will shrink as much as 5%.
Chemicals
Read Jeanne’s post – there’s some important stuff there! Chemicals are not necessarily a bad thing when you’re storing your fabric. If you find that your hands get painfully dry or itchy, or you have trouble with sneezing or a runny nose when you’re sewing, then pre-wash the fabric and avoid the misery. I really like working with fabric that still has the sizing in because it is firmer and sturdier. Some people like to wash the fabric to remove the preservatives, then add starch or sizing back in either in the wash or with a spray when ironing.
Pressing and Straightening
Now that you’ve pre-washed (or not) and dried your fabric, you need to press it. (Check out Jeanne’s post for an explanation of pressing vs. ironing.) Unfortunately, I believe you need to press it even if you didn’t pre-wash it. Fabric isn’t always put on the bolt perfectly straight, and it’s best if you find the grain before cutting. Jeanne explains grain lines in her post, as well as how to make sure the edge of your fabric is on the grain.
I square up my fabric a little differently. First I iron the fabric to remove all creases and wrinkles. (When I’m working with yardage, I “iron.” When I’m working with cut pieces and block components, I “press.”) I keep a spray bottle filled with a mixture of water and vodka handy to mist the fabric as I iron.
Wait – VODKA?!!
Yep. Some of you have heard this from me already, but I’ll share it again for the newer readers. You can buy spray starches and sizings and fancy Best Press. Since I don’t pre-wash my fabrics, the sizing is still in it and all I really want to do is refresh it. The vodka seems to give it a slightly crisper finish, and I think it makes the fabric smell a little better. (It doesn’t smell at all alcohol-y.) My mom has trouble with scents so my vodka/water mix is straight, but you can add a drop of essential oil – lavender, rose, ylang ylang – whatever you have on hand. You can even add a couple drops of your favorite perfume if you like. According to my friend Amber, costume designer extraordinaire (and soon to be quilter – hi Amber!), it’s good for removing odors from fabric, similar to Febreeze, only a heck of a lot cheaper. I mix approximately 1 part vodka to 3 parts water. I use a 16 ounce bottle, so I put in half a cup of vodka and fill it up with water, then shake. If you’re adding oil, mix that with the vodka first to emulsify, then add the water.
If the fabric piece is larger than a yard, I usually cut off a chunk so it’s easier to work with. This results in a little fabric waste, but it’s worth it for ease of handling. I iron the fabric so it’s nice and smooth, opening it so I iron a single layer and press out the fold line. That’s where the spray really helps. Once it’s smooth I fold it with the right side out, lining up the selvages.
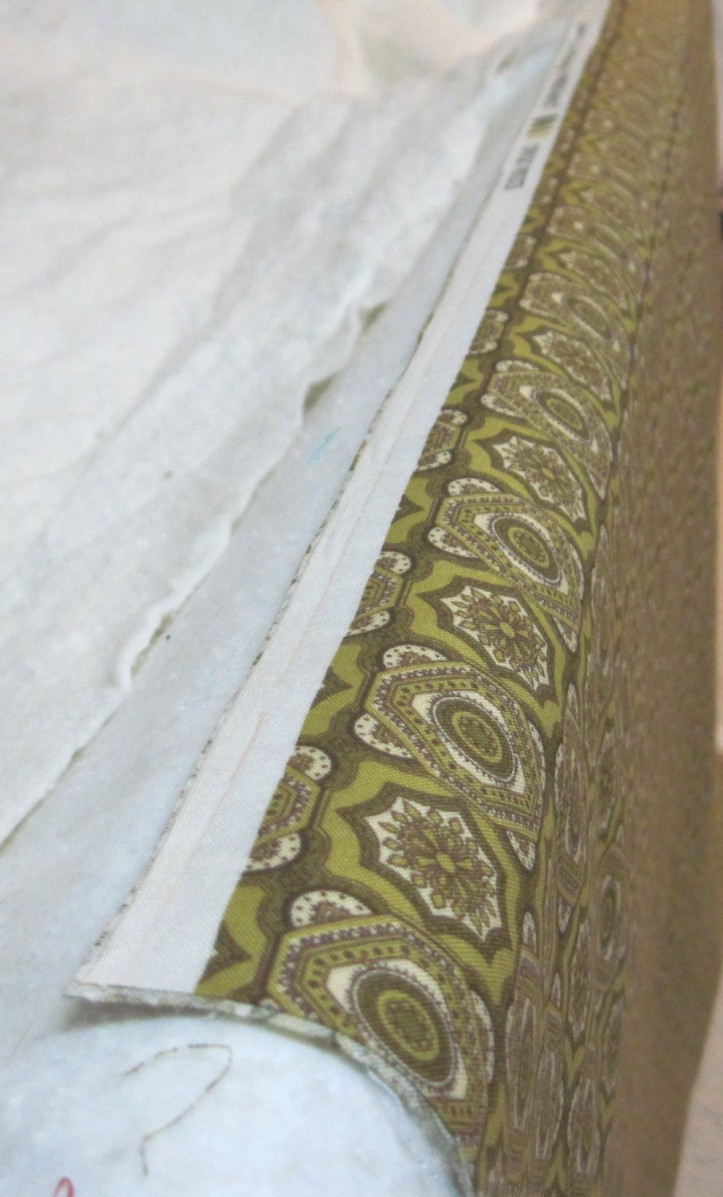
The next photo shows that the cut edges are also lined up – this is how the fabric came off the bolt.
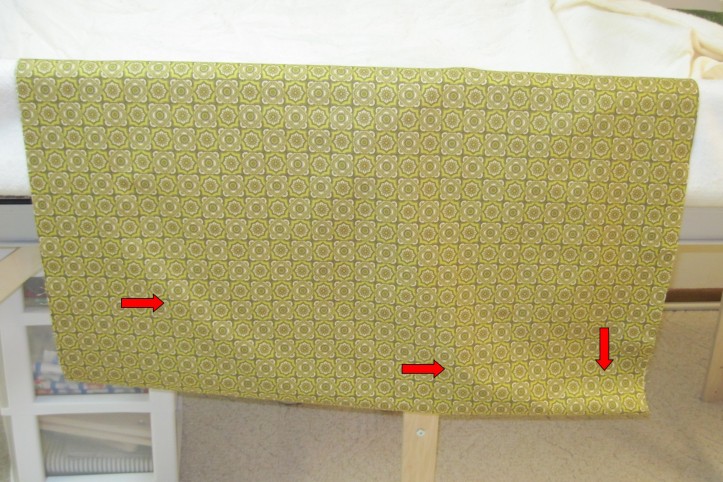
Look at the fabric – if it looks warped and bubbled, that means the fabric was a bit crooked on the bolt. The arrows point out the ripples.
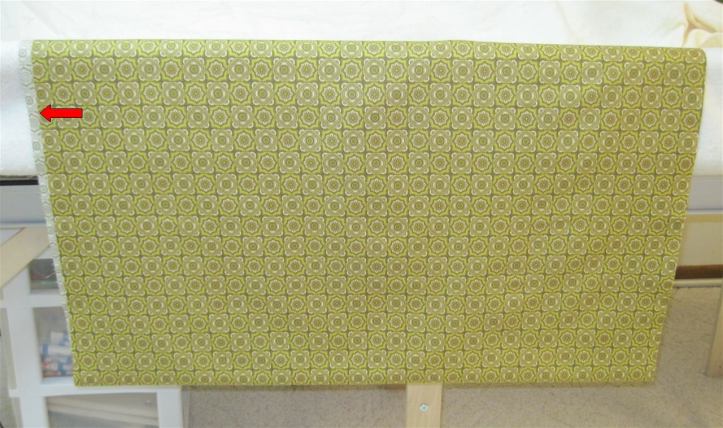
Slide the front half of the fabric left or right as needed until it hangs straight. You may lose as much as a few inches of fabric in the squaring up process.
As you can see, even though this is a very good quality fabric, it was still a little crooked. I lost about an inch of fabric once it was trimmed.
Once it hangs straight lightly press the fold to keep it from sliding around.
Squaring Up
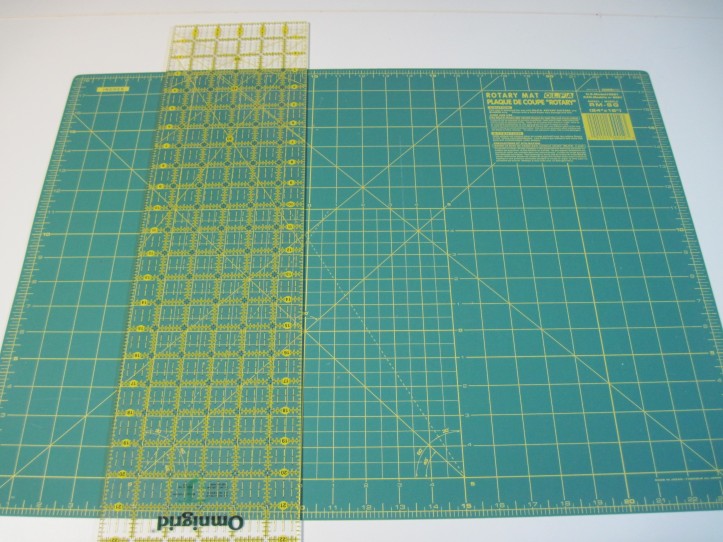
You probably already have all of the tools and supplies you need (and many you don’t, if you’re like most of us!). If you’re just getting started, check out the Basic Tools Skill Builder Post for a guide. Three very essential tools are your self-healing mat, rotary cutter, and acrylic ruler. I believe that when you’re cutting fabric, you should measure with either the ruler OR the mat – never both. I prefer to cut on the plain back of the mat.
You’ll use the ruler to find the straight edge and measure, so the lines on the mat just create confusion and extra work.
That’s my preference – others may prefer to use the lines on the mat. Try it both ways and find what works for you.
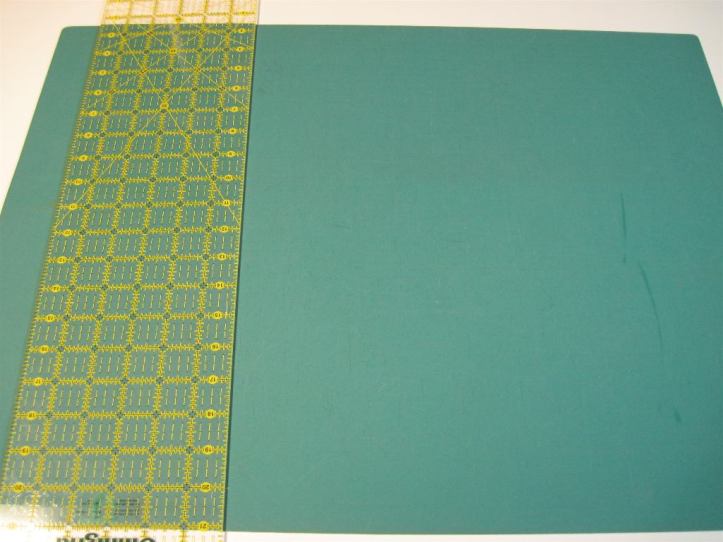
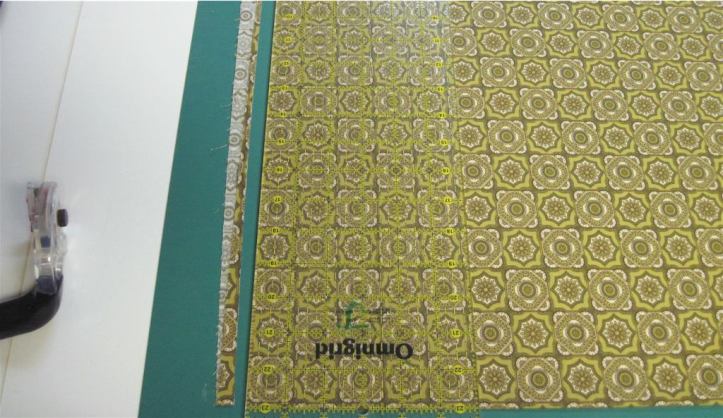
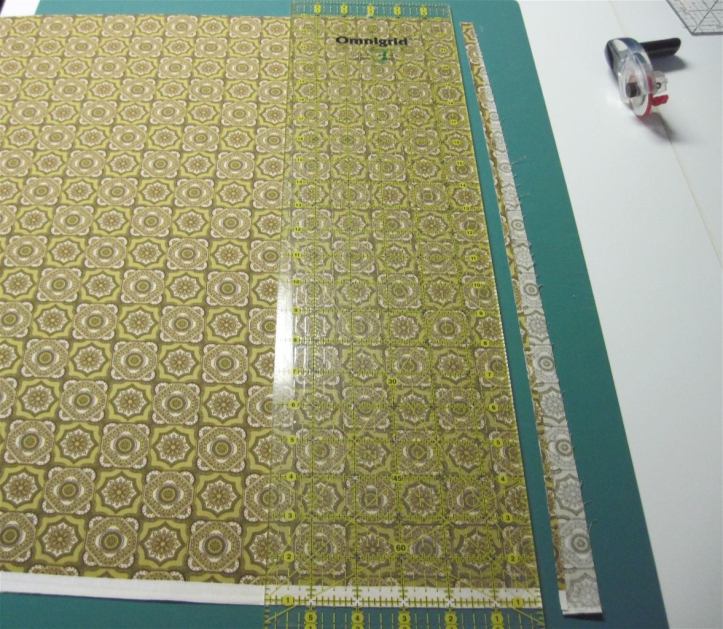
Place the fabric on the mat, making sure the edge you will be cutting is completely ON the mat, not hanging off an edge. Cutting off the edge of the mat not only causes skips in the fabric, it can permanently damage your blade. Place the ruler on the fabric so the cut edge of the fabric extends past the edge for the full length of the ruler.
Align a ruler marking with the lightly pressed folded edge of the fabric. That fold is straight and on grain now, so you’ll use that as your guide.
Your first cut will trim the excess, off grain fabric away. If you are left-handed (like me) the part you are trimming away should be to the left of the ruler (above). If you’re right-handed, it should be to the right (below). You’ll switch sides when you start cutting strips for the quilt – this is just for squaring up the edge.
Place your hand on the ruler to hold it firmly in place. If it slips around, you may want to consider adding anti-slip plastic (OmniGrip), adhesive sandpaper dots, or even just a smear of rubber cement (let it dry!) to the back of your ruler. Make sure your fingers are not too close to the cutting edge – that rotary cutter can cause serious damage. Using firm, even pressure at the front edge of the blade, cut the fabric. Think “forward” when you’re cutting, not “down.”
(And here’s the right-handed version:)
You’ve squared up your fabric, and are now ready to cut strips for the blocks.




Thanks for the tips! I never heard the vodka one and will be using it from here on out. I am going out tomorrow to buy my fabric. FINALLY decided on a color palette!
A very interesting and helpful post. Any links to squaring up fabric that is precut (eg fat quarters)?
Jeanne’s post about Fabric Fundamentals gives another explanation on how to square up fabric. Basically, you rip the fabric. Yes, you lose a little, but you probably would have anyway.
Wish I’d had you as a resource when I first started out. Some inaccurate cutting and disappointment might have been avoided. Thanks for a very, very well-done tutorial. Looking forward to more!
These are wonderful instructions for beginners. Boy, is that fabric ugly!
Hi Sandi! Thanks so much for the shout-out!! I have a question! How can I be sure I’m NOT spending my money on ‘junk’ fabric? I am naturally drawn to effervescent prints and vintage appeal when it comes to fabric. Many times, I ignore the quality simply for the pattern!!! How can I be sure I’m buying quality fabric, that will make it through the washing machine?!
Amber! Woohoo!
I go into greater detail about quality in the Skill Builder post (about 2/3 of the way down the long, looong post), but here’s the most relevant statement:
I buy a lot of my fabric in quilt shops (or online shops) and I like to buy fabric produced by well known fabric companies. I do buy some fabric at discount stores (JoAnn’s and Hobby Lobby in particular) and that’s where the above statement comes into play.
GoSh I still adore that green fabric! Grabbing some Vodka too…
That’s exactly how I straighten my fabric! Great tutorial. As for the vodka, yep heard about that one too and from what I gather It is the ingredient in home made Linen water and acts as a preservative..especially if you add essential oils. Here’s a link to one recipe http://ourredhouse.blogspot.com/2008/02/luscious-lavender-linen-water.html though there are loads if you Google Homemade Linen water.